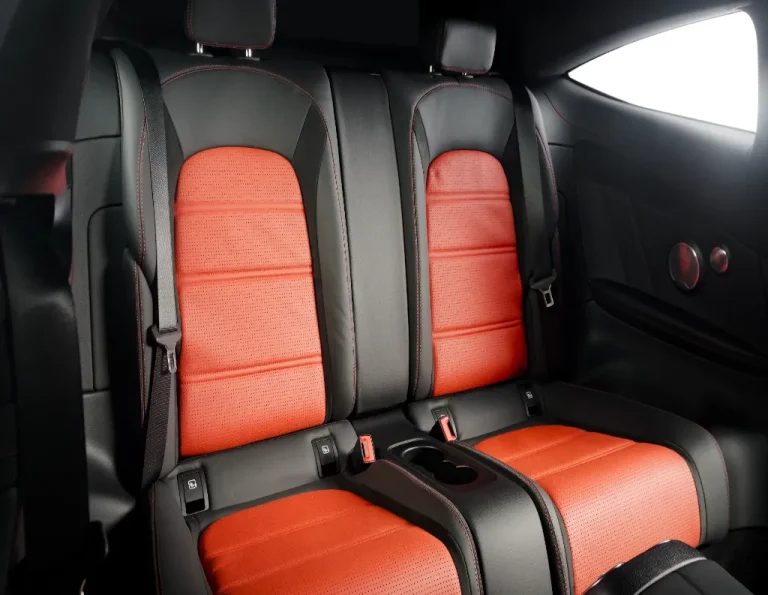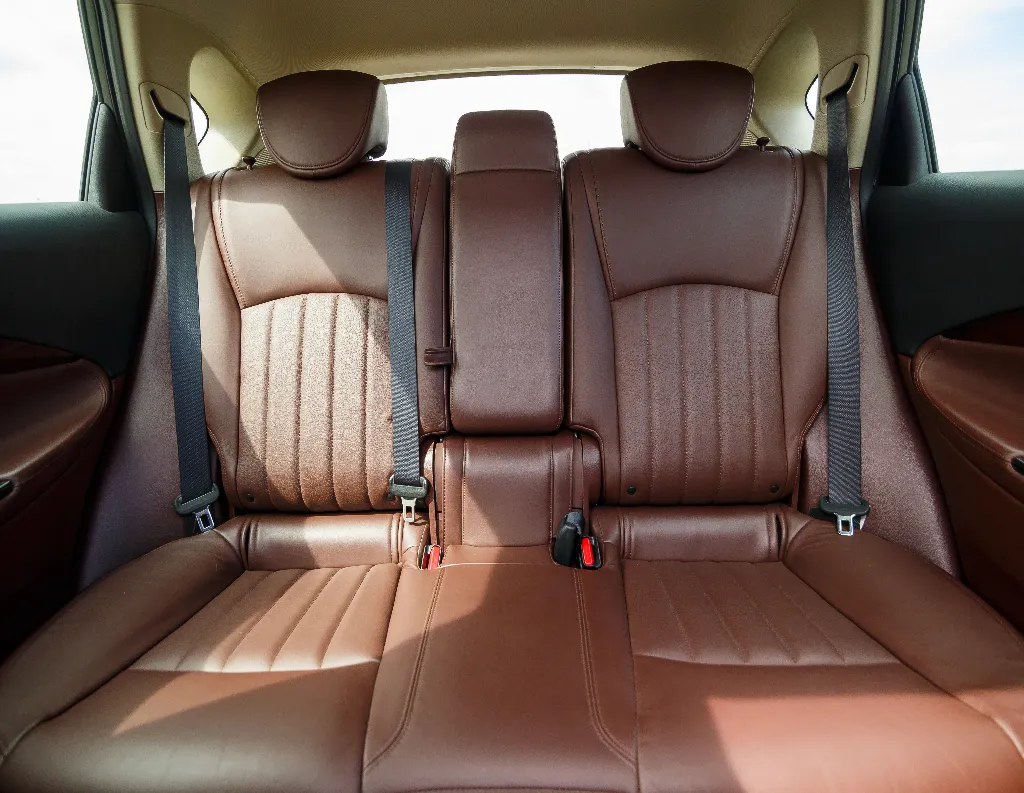
Restore Leather Seats
Restore Leather Seats: A Step-by-Step Guide to Revitalize Your Interior
Restoring leather seats can enhance the appearance and longevity of a vehicle’s interior. The process involves several steps, including cleaning, repairing damage, and applying color. Proper preparation and the right products are essential for achieving the best results. Following a detailed guide will ensure a successful restoration, making the leather seats look new again.
Preparing Your Leather Car Seats
Proper preparation is essential before embarking on the restoration of leather car seats. This process involves a series of steps to clean and ready the surface for further treatment.
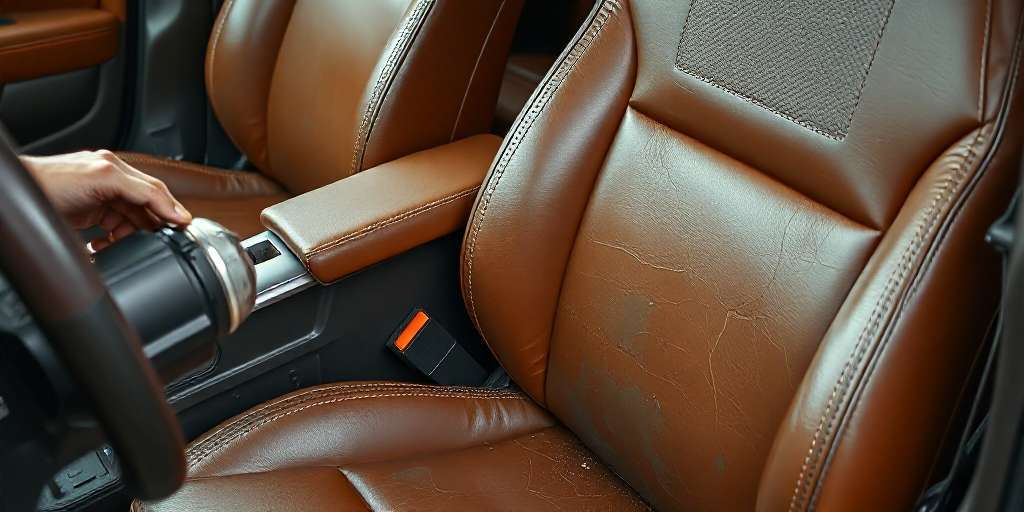
Cleaning the Surface
To ensure effective restoration, cleaning the leather surface is the first critical step. This not only removes dirt but also helps in eliminating oils and residues that can interfere with adherents and colorants used in restoration.
Using Leather Cleaners Effectively
Choosing the right leather cleaner makes a significant difference. Select a product specifically designed for leather surfaces. Apply the cleaner with a soft cloth, focusing on areas where dirt tends to accumulate, such as seams and creases. A gentle approach is essential, as harsh scrubs may damage the leather.
Application Tips:
- Use a damp cloth to apply the cleaner evenly.
- Work in circular motions to lift dirt without scratching the leather.
- Rinse the cloth frequently to avoid reapplying dirt.
Removing Any Dirt and Grime
Once the cleaner has been applied, it’s important to follow up with a deep cleaning routine. Pay particular attention to stubborn stains or areas that might have accumulated dirt over time. A specialized leather brush can be used gently to dislodge embedded grime.
Additional Cleaning Techniques:
- For light stains, a mixture of vinegar and water can work effectively.
- For tougher stains, a designated leather stain remover is advisable.
- Always test any cleaner on a hidden area first to ensure it does not affect the leather’s color.
After cleaning, allow the leather to air dry naturally. Avoid using direct heat sources, as they can cause leather to crack or warp. Proper preparation sets the foundation for successful restoration and maintenance of leather car seats.
Repairing and Restoring Leather Seats
Restoring leather seats involves addressing damage effectively to ensure a flawless appearance and prolonged durability.
How to Restore Cracked Leather Car Seats
Cracked leather can significantly detract from the aesthetic appeal of any vehicle. Restoration requires careful attention to ensure the integrity of the leather is maintained. Begin by thoroughly assessing the cracks to identify the extent of damage.
Products Used for Repair
The right tools and materials are essential for effective repair. Several products are commonly recommended:
- Leather filler for repairing cracks and surface imperfections.
- Leather binder, which helps reinforce repaired areas.
- Colorant kits specifically designed for leather to restore original hues.
- Application tools such as brushes and sponges for even distribution.
Step-by-Step Process to Repair Damage
Repairing damaged leather seats involves a systematic approach to ensure lasting results. Follow these essential steps:
Applying the Filler onto the Leather
Begin with a clean surface. Apply the leather filler carefully into cracks and damaged areas using a flexible spatula. Ensure the filler is pressed thoroughly into the cracks to avoid any gaps. After application, allow the filler to dry completely, following the product instructions for drying times.
Using the Leather Binder
After the filler has cured, it’s time to reinforce the leather. The leather binder should be applied generously with an applicator. This step is vital, as it helps to restore flexibility and prevents future cracking. Multiple thin layers are recommended to achieve optimal strength, allowing each layer to dry before applying another.
Coloring and Finishing the Leather
Applying color and finish is a crucial step in the restoration process. It not only enhances the appearance but also protects the leather from future wear and tear.
Applying the Color
Selecting the right color is essential to match the original hue of the leather. A quality leather dye or colorant should be selected for the best results. Ensure it is specifically designed for use on leather to promote adhesion and longevity. Prepare the surface once again before application to ensure maximum color absorption.
Best Practices for Even Coating
To achieve a flawless finish, following best practices for applying color is vital. Several techniques can enhance the outcome significantly.
Use of Airbrush and Sponges
Utilizing an airbrush can deliver a smooth and even layer of color, while sponges can be useful for touch-ups and details. Both tools can help in avoiding streaks and ensuring uniform coverage over the surface.
Drying Time Between Coats
Allowing sufficient drying time between coats is essential. Each layer needs to cure properly to prevent issues such as bubbling or uneven texture. Generally, waiting at least 30 minutes between applications is recommended, but depending on the product, this time may vary.
Final Finish Techniques
The finishing process seals the color and provides an additional layer of protection. The choice of finish can impact the overall look and durability of the leather.
Matte vs. Gloss Finish
Selecting a matte or gloss finish depends on the desired aesthetic. A matte finish offers a more understated, sophisticated look, while a gloss finish gives a shiny, polished appearance. Personal preference and the specific leather type should dictate the choice.
Adding a Protective Coat
Applying a protective coat after the color and finish have cured can significantly increase the lifespan of the leather. This coat acts as a barrier against stains and moisture, ensuring the restoration efforts endure over time. Suitable protective sprays or creams designed for leather can be used for best results.
Maintenance and Care Tips
To ensure leather seats remain in excellent condition, regular maintenance and care are essential. The right products and techniques can greatly extend the lifespan and appearance of leather.
Products for Regular Care
The use of specialized products can significantly contribute to the upkeep of leather seats. Here are some recommended items:
- Leather cleaners designed to gently remove dirt without damaging the material.
- Conditioners that help maintain moisture and prevent cracking.
- UV protectants to shield against sun damage and fading.
How to Maintain Your Leather’s Look
To keep leather seats looking their best, a consistent routine is beneficial. These practices contribute to optimal appearance:
- Regularly wipe down seats with a soft, damp cloth to eliminate surface dust and dirt.
- Apply a conditioning product every few months to retain moisture and flexibility.
- Avoid placing sharp objects on the seats to minimize potential scratches and punctures.
Professional Products for Long-Lasting Results
For those seeking a higher level of care, professional-grade products are available that offer enhanced solutions for leather maintenance:
- Advanced leather cleaners that penetrate deeply for tougher stains.
- Premium conditioners that provide superior hydration and protection, often containing nourishing oils and waxes.
- High-quality finishes that can be applied to enhance the leather’s look and durability.